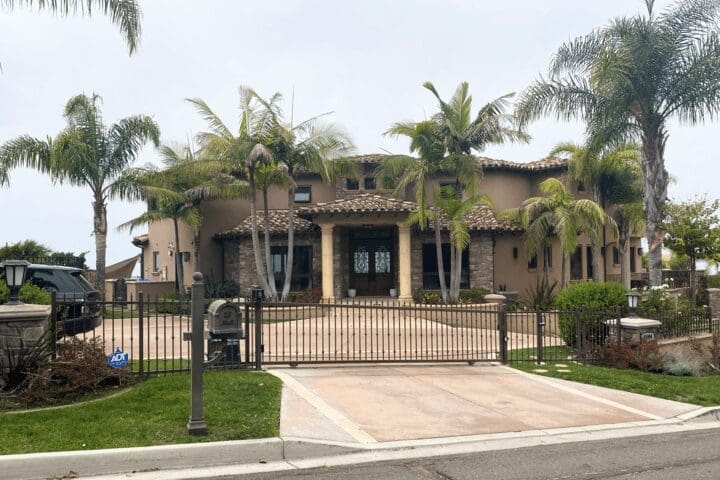
10-Step Application Process
The application of Tex-Cote’s advanced coating system is a meticulous process that ensures long-lasting protection and performance. Each step in this 10-step process is essential to achieving the superior durability and energy efficiency that Tex-Cote is known for. Here’s a detailed breakdown of the process:

1. Inspection: Before starting the application, a Tex-Cote authorized applicator thoroughly inspects your home’s exterior to identify any cracks or damage. This initial inspection is crucial to address problem areas that could affect the coating’s longevity and performance.
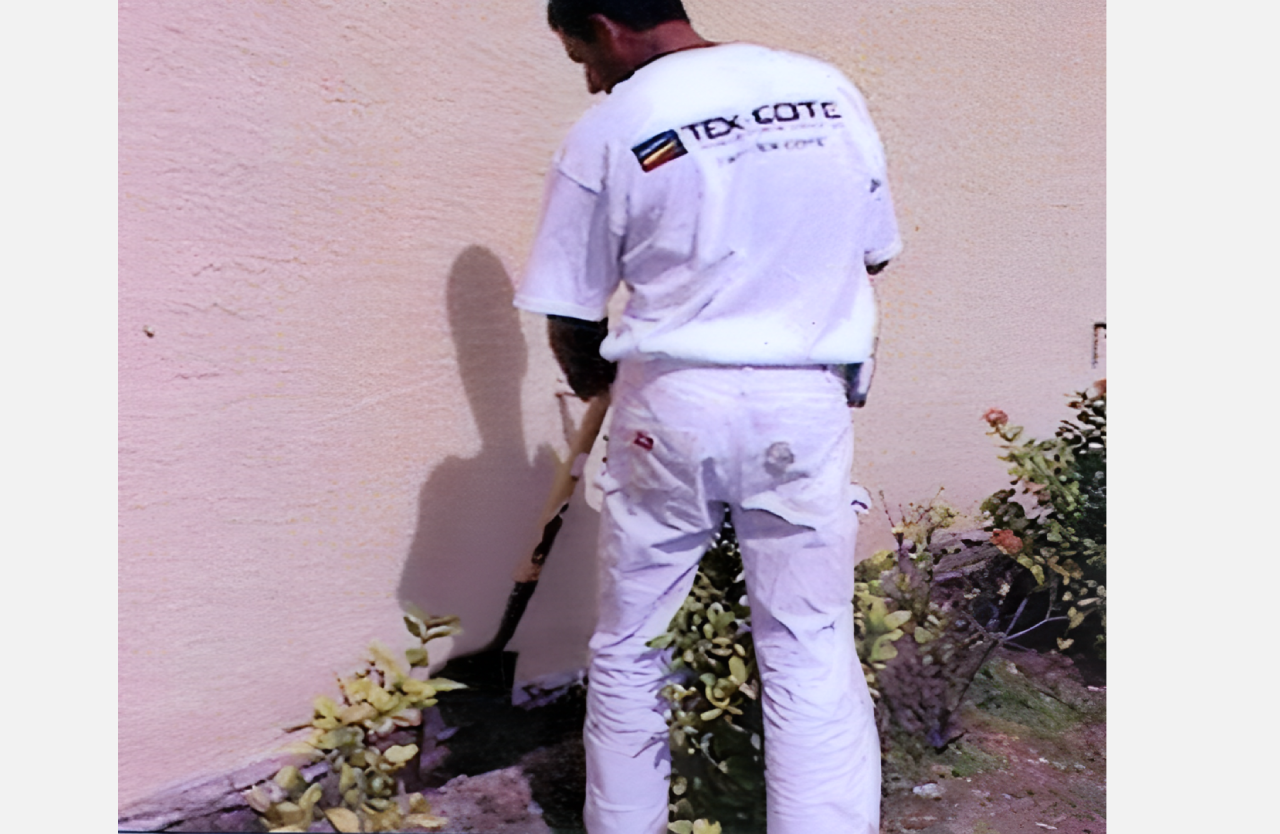
2. Trenching: Unlike traditional paints, Tex-Cote coatings require trenching around the home’s perimeter. This step is essential to prevent ground moisture from intruding and causing structural decay. By coating from below ground level upwards, trenching ensures your home is protected from moisture damage over time.
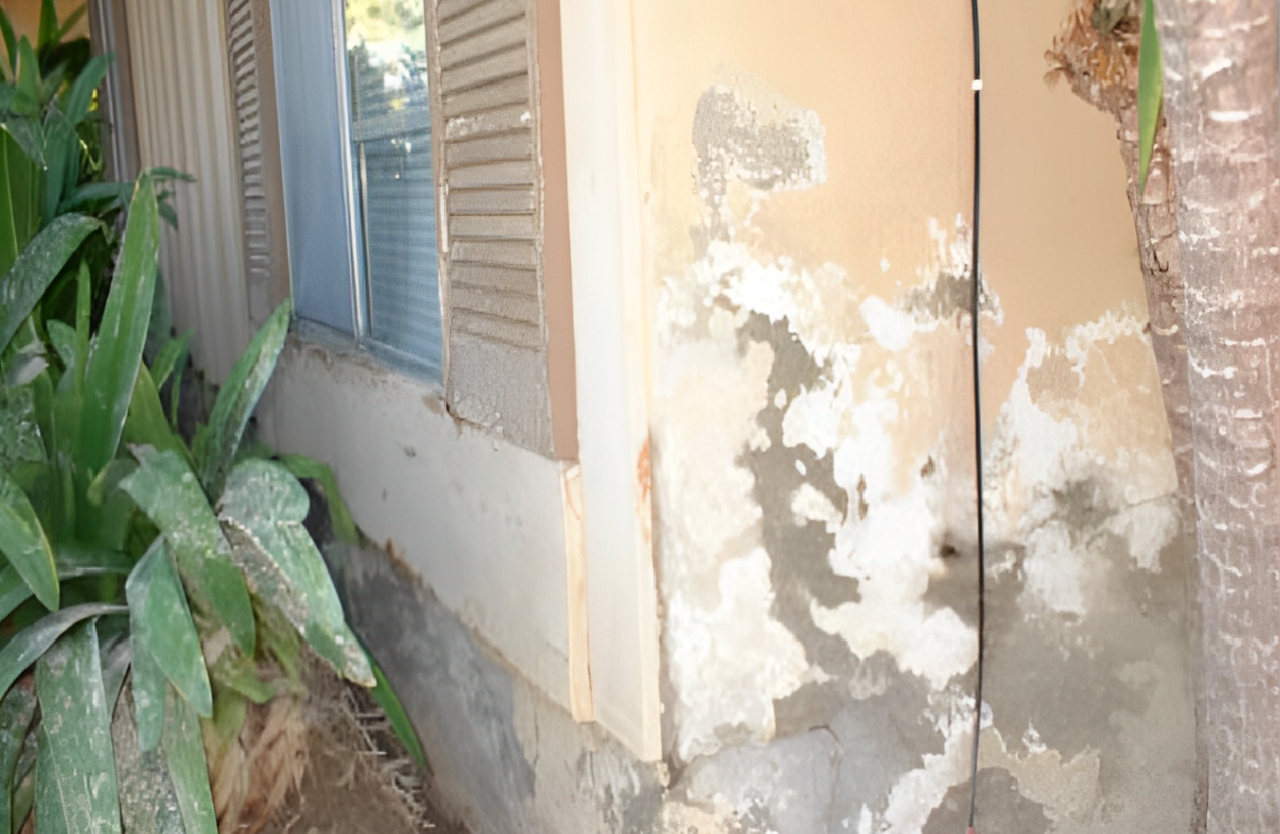
3. Pressure Washing: Using high-pressure washers, the home’s exterior is thoroughly cleaned to remove dirt, mildew, loose paint, and other debris. This step creates a clean surface for the Tex-Cote coating to adhere to, ensuring a flawless and durable finish.
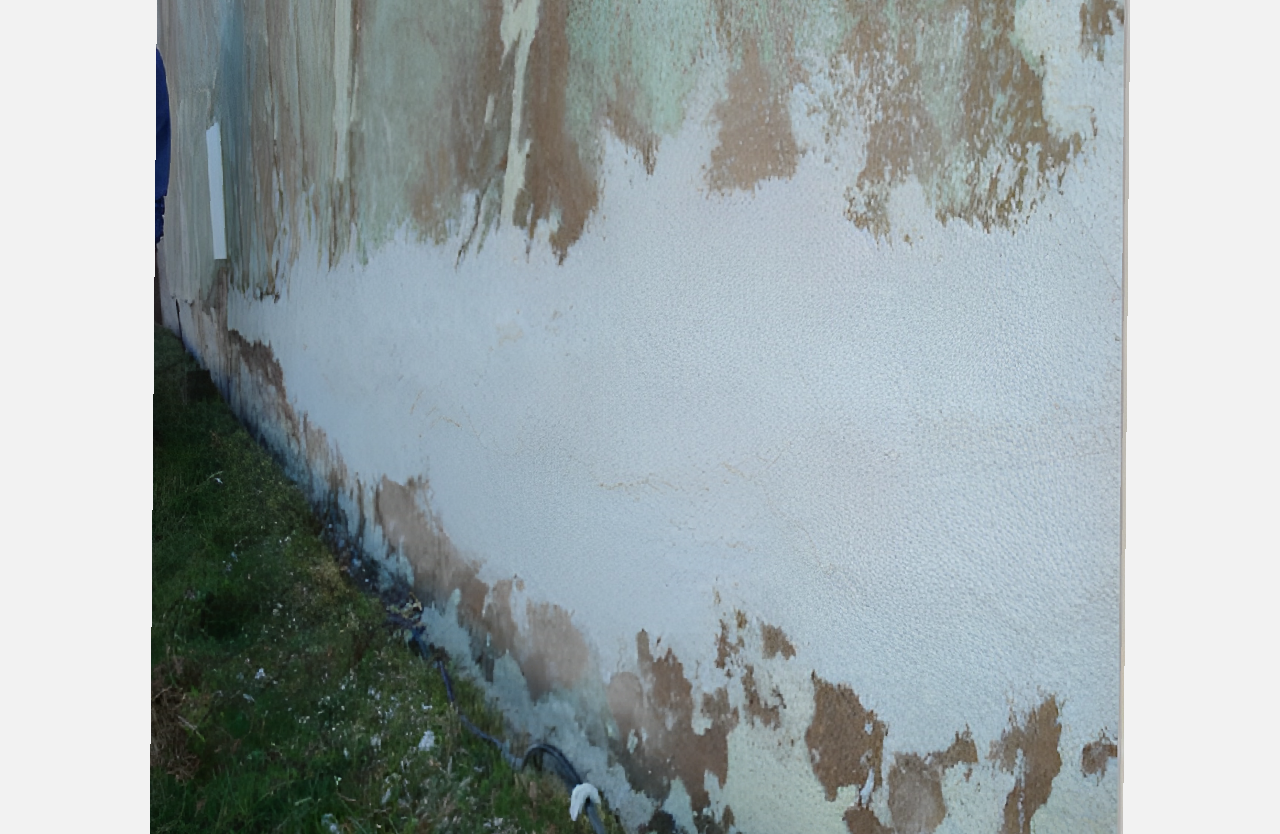
4. Repair and Patch: Any visible cracks or damaged areas in the stucco are repaired and patched. A uniform surface is essential for the coating to adhere properly and for the final result to look smooth and professional.
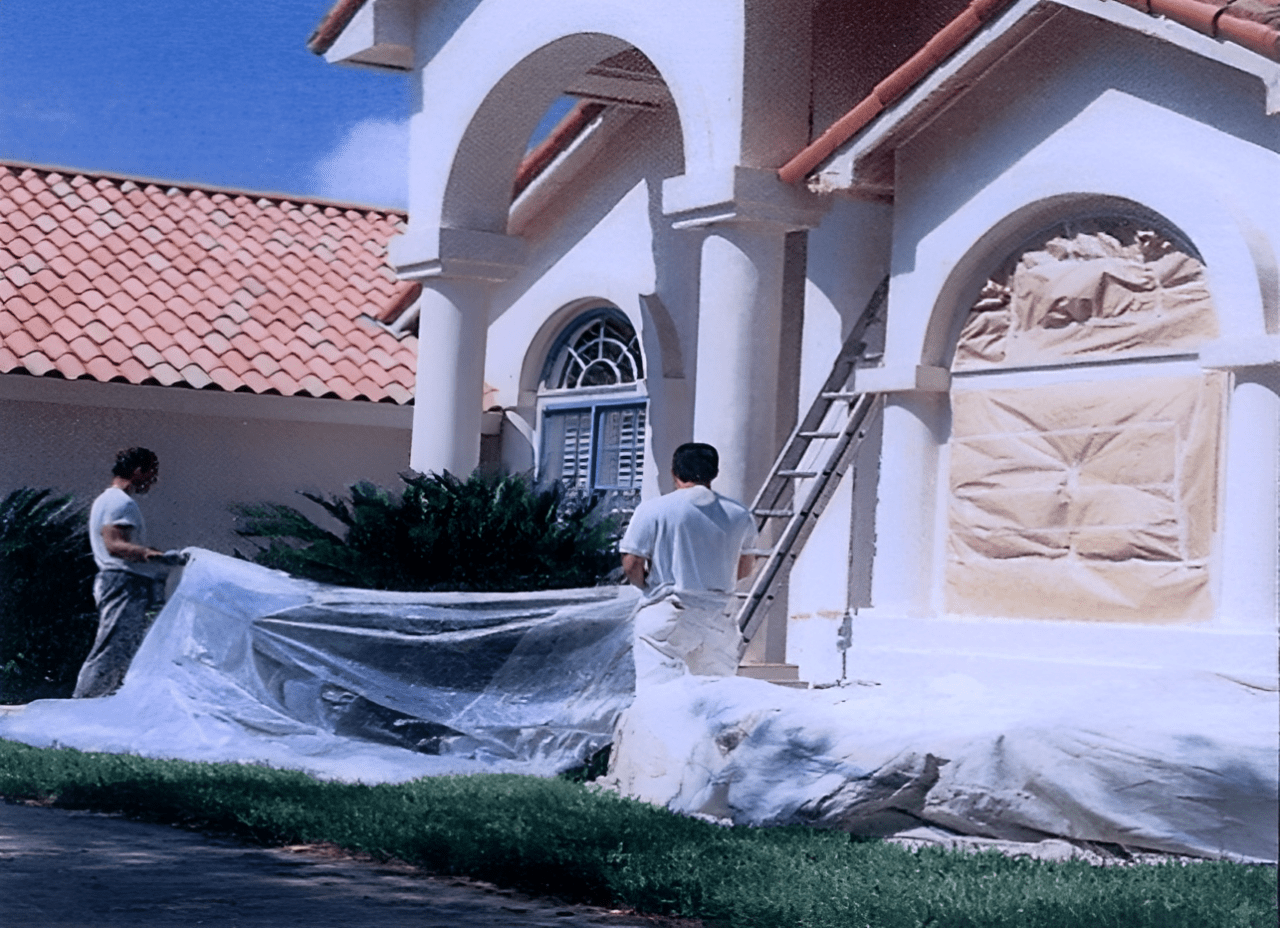
5. Masking: Windows, doors, trim, and any areas that won’t be coated are carefully masked off to prevent overspray. This step ensures a clean application and precise finish, protecting the home’s other surfaces.
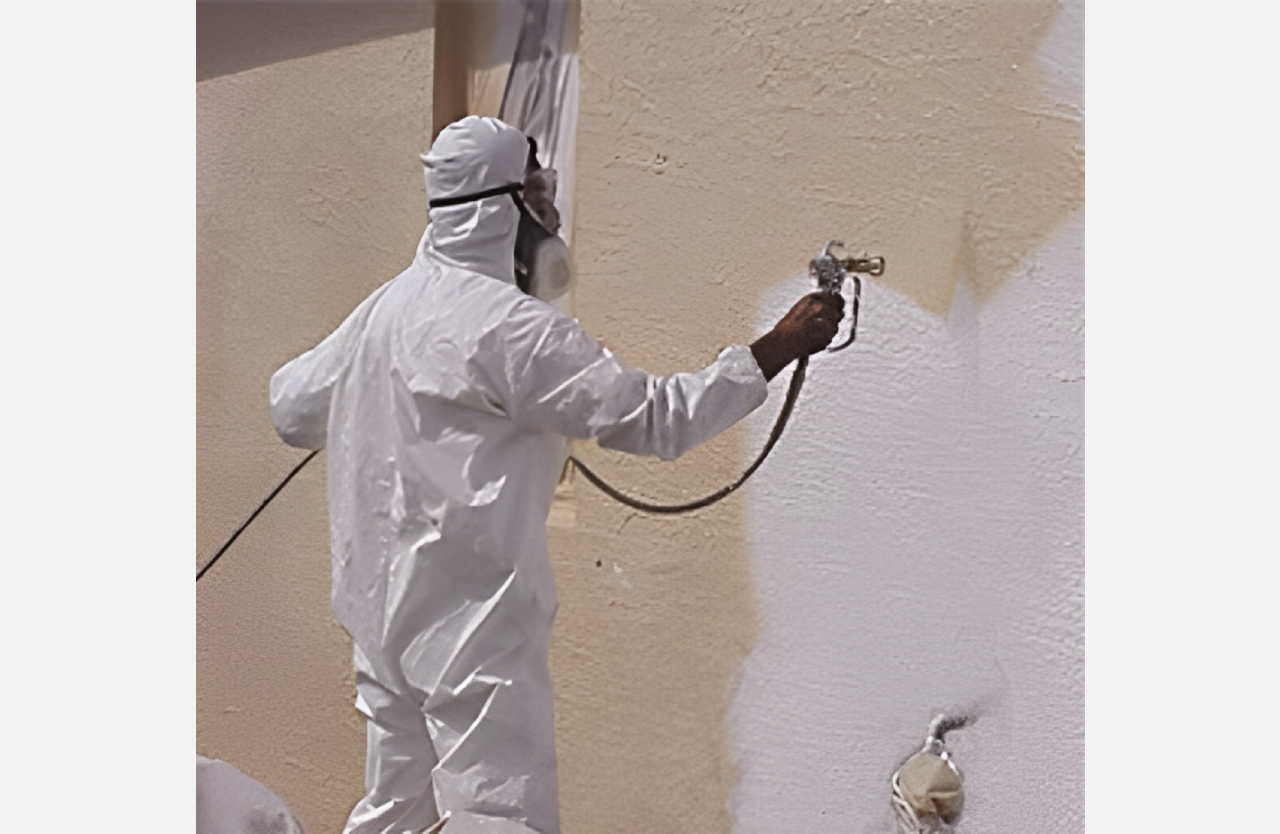
6. COOLWALL® Primer: A thick elastomeric primer is applied to create a strong, armor-like layer on your home’s exterior. This primer helps seal the surface and prepares it for the heat-reflective COOLWALL® finish, providing a durable base that shields against moisture and damage.
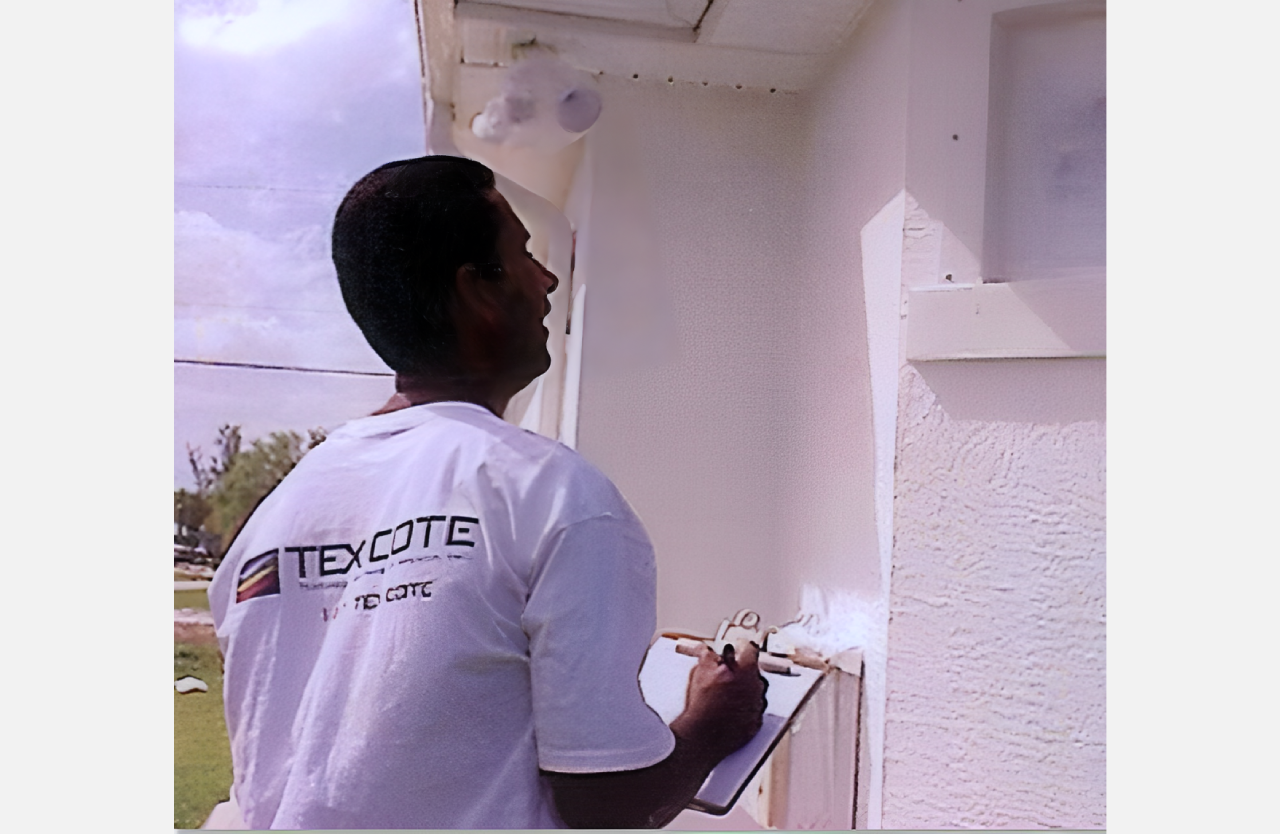
7. Primer Inspection: Once the primer is applied, the applicator inspects it to ensure the coating is even and the correct thickness. This extra level of quality control ensures a strong foundation for the next steps in the process.

COOLWALL® with Kynar® Finish: The heat-reflective COOLWALL® finish is applied in the color of your choice. This advanced coating not only provides a beautiful appearance but also reflects heat, helping reduce cooling costs.
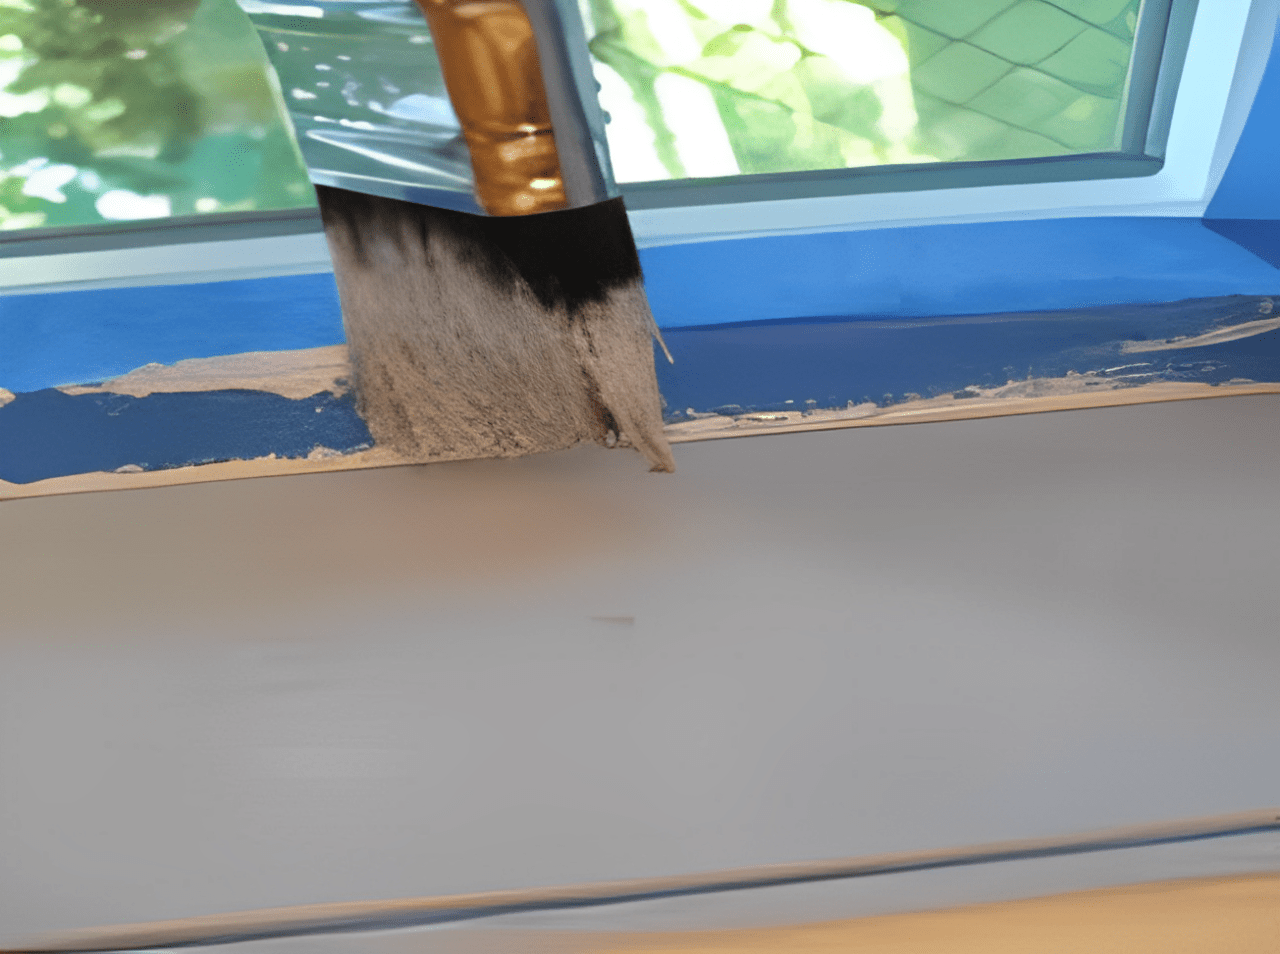
9. TRIM•COTE®: The same heat-reflective coating is applied to the trim, windows, and other detailed areas to ensure the entire exterior of your home benefits from Tex-Cote’s energy-saving technology.
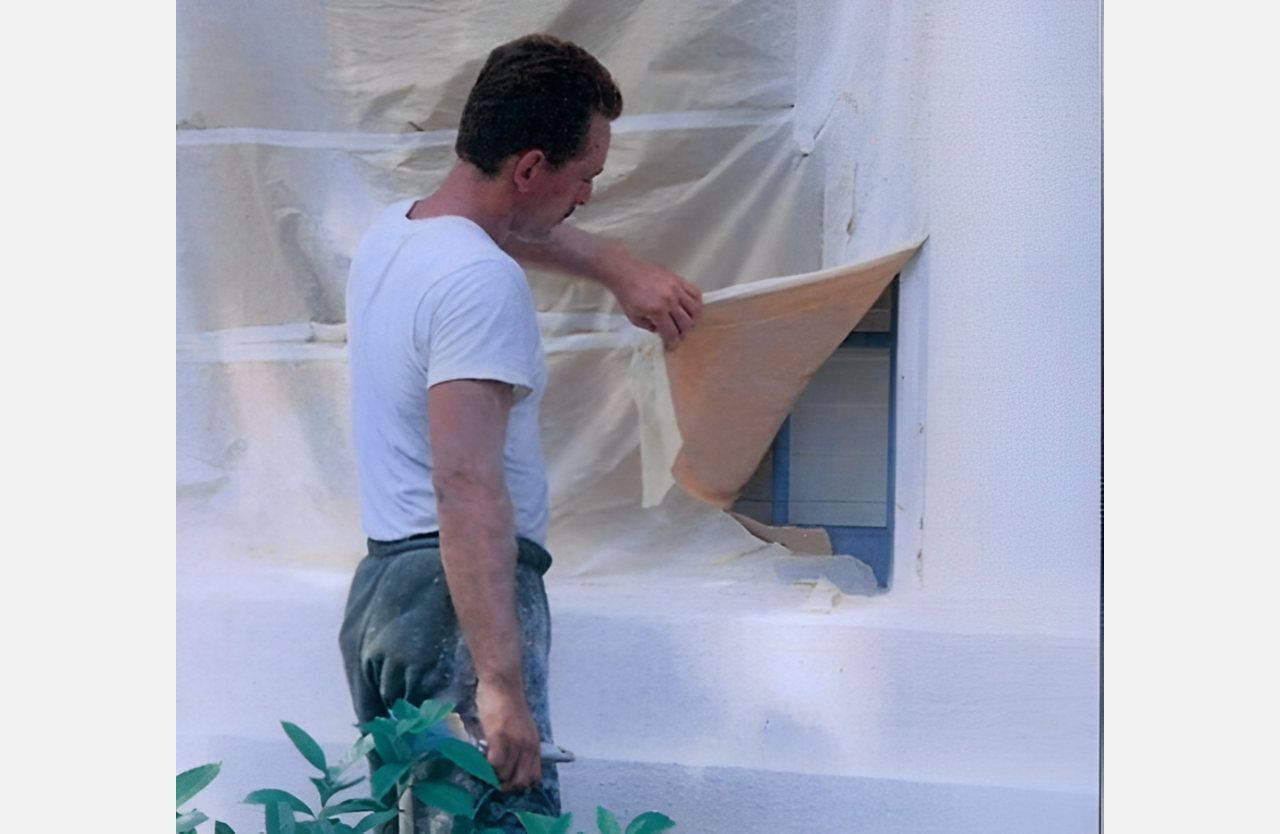
10. Clean-Up: After the final coat is applied, the applicator removes all masking, cleans up the worksite, and ensures your home is left looking vibrant and tidy. The result is a durable, energy-efficient exterior that will stand the test of time.
Each of these steps is critical to ensuring the Tex-Cote coating adheres properly, lasts for decades, and protects your home from the elements. When professionally applied, the Tex-Cote process guarantees a durable, energy-efficient exterior finish backed by a lifetime warranty.